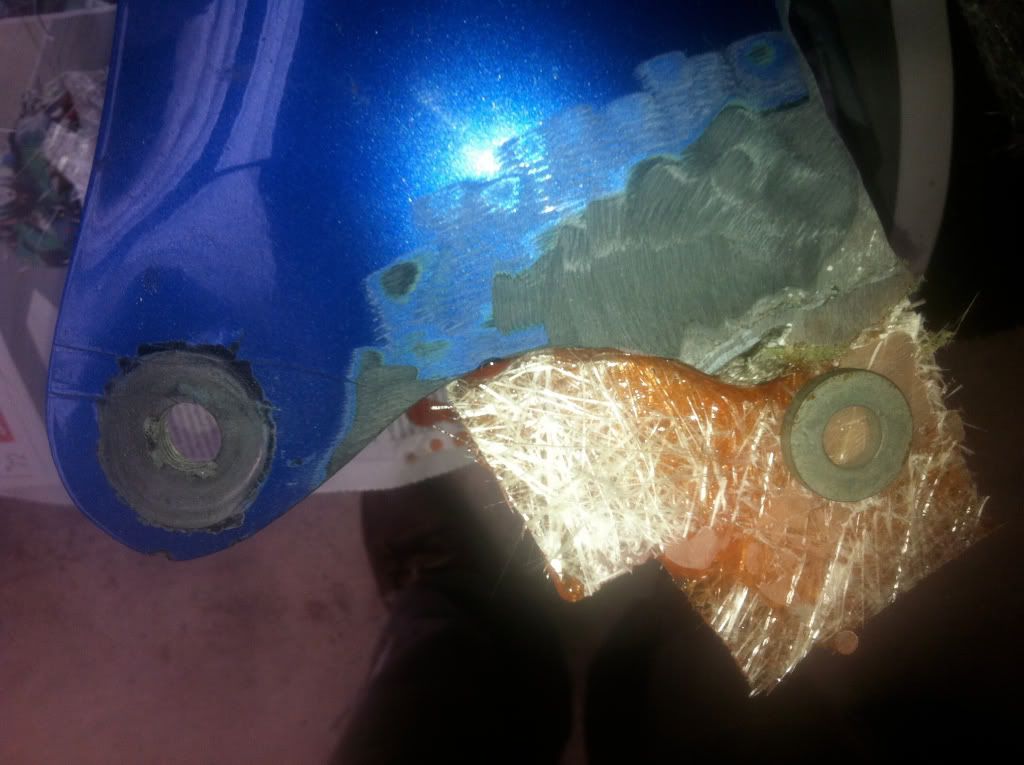
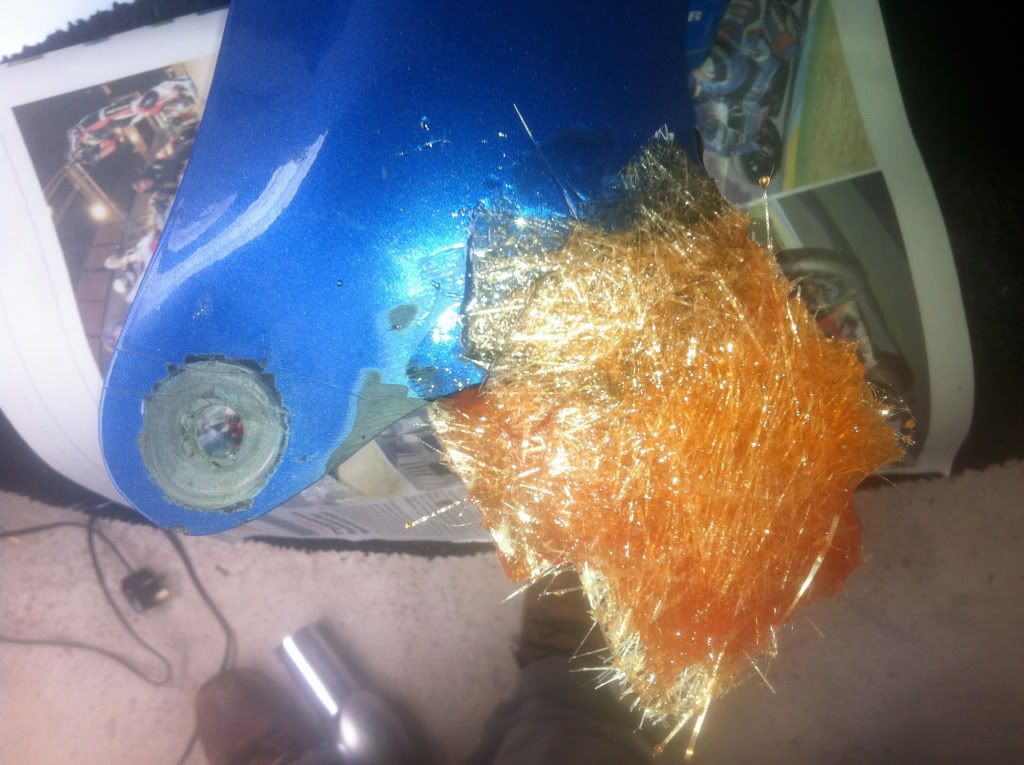
Unfortunately the front mounting portion of my hugger has failed (bit that bolts to the front caliper mount) and I've lost the bottom inch or so of the material. I've used fiberglass to repair a car bumper before, but never a structural part. Any tips or good kits to buy
Fiberglass Repair
Moderators: slparry, Gromit, Paul
Fiberglass Repair
Right, anyone used a fiberglass kit to repair a hugger or fairing mount point 
Unfortunately the front mounting portion of my hugger has failed (bit that bolts to the front caliper mount) and I've lost the bottom inch or so of the material. I've used fiberglass to repair a car bumper before, but never a structural part. Any tips or good kits to buy
Unfortunately the front mounting portion of my hugger has failed (bit that bolts to the front caliper mount) and I've lost the bottom inch or so of the material. I've used fiberglass to repair a car bumper before, but never a structural part. Any tips or good kits to buy
Blame the Deed, Not the Breed
Traitor Z1000SX Owner
Traitor Z1000SX Owner
- Britisherspy
- Posts: 499
- Joined: Sat Apr 03, 2010 7:19 pm
- Location: Lichfield
Use Q-Bond - its the best stuff you can buy.
http://www.ebay.co.uk/itm/Q-BOND-ULTRA- ... 4aba9df06f
The black powder is for ABS/Plastic repairs and the grey powder for ally engine casings
http://www.ebay.co.uk/itm/Q-BOND-ULTRA- ... 4aba9df06f
The black powder is for ABS/Plastic repairs and the grey powder for ally engine casings
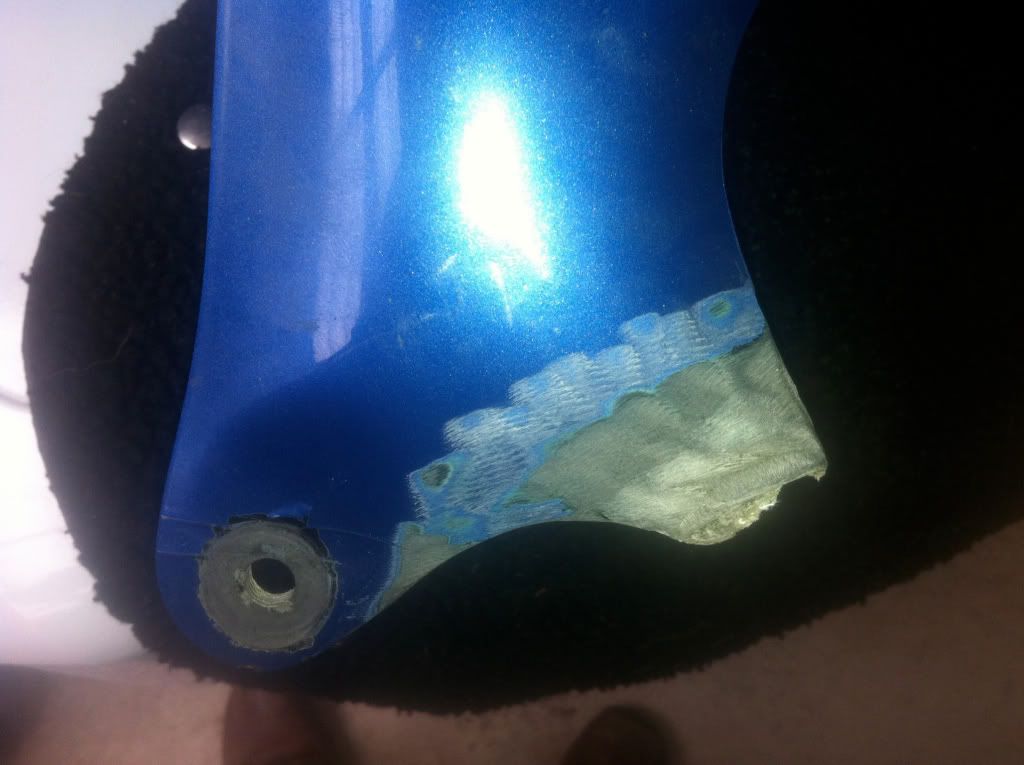
Not a professional finish by any standards, but thought stage pics might help someone at some time 
1) Remove the damaged edges and key the surface
2) Starting from the back, used an old bit of sponge to support the first layer
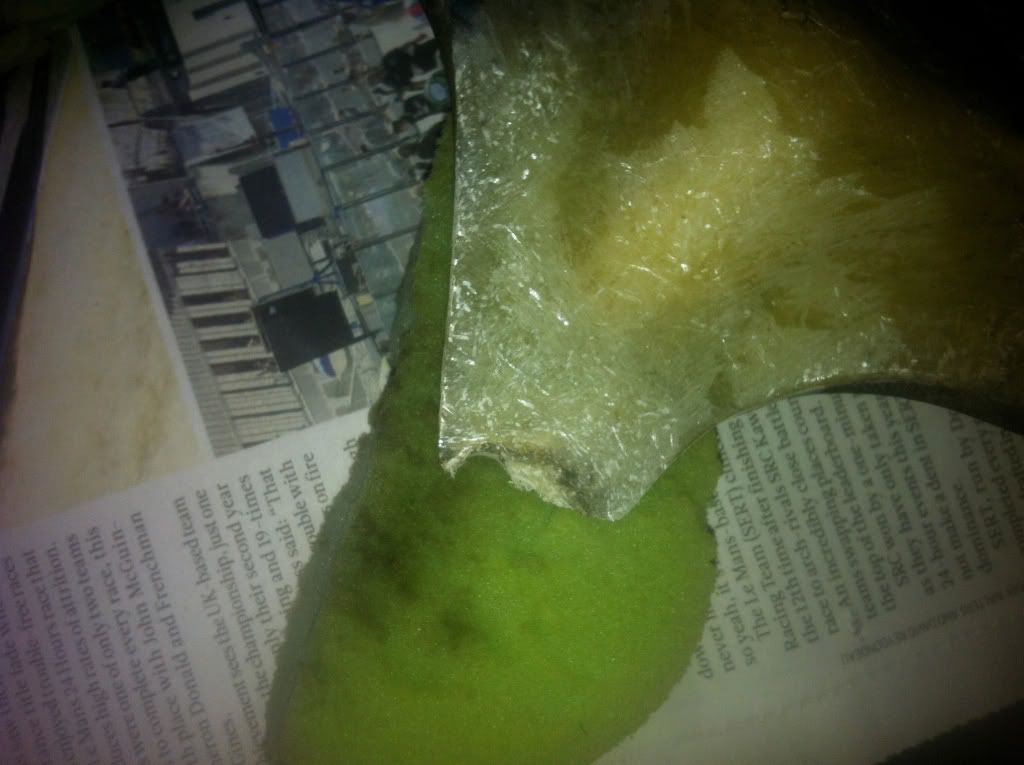
3) First couple layers on
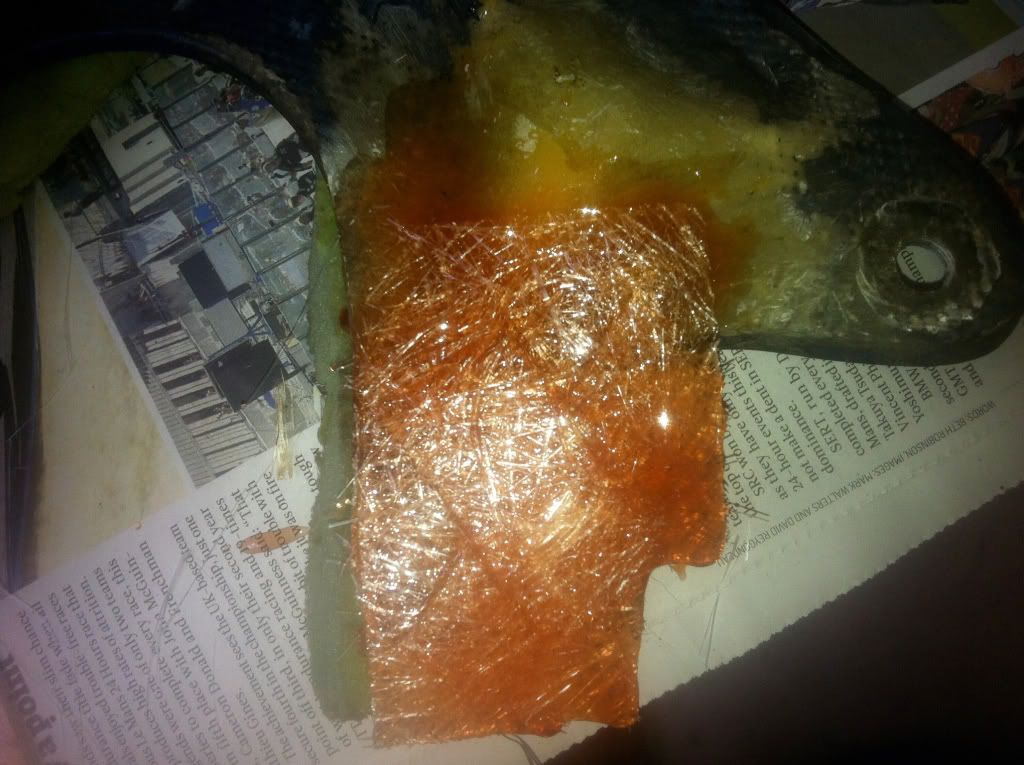
1) Remove the damaged edges and key the surface

2) Starting from the back, used an old bit of sponge to support the first layer

3) First couple layers on

Blame the Deed, Not the Breed
Traitor Z1000SX Owner
Traitor Z1000SX Owner
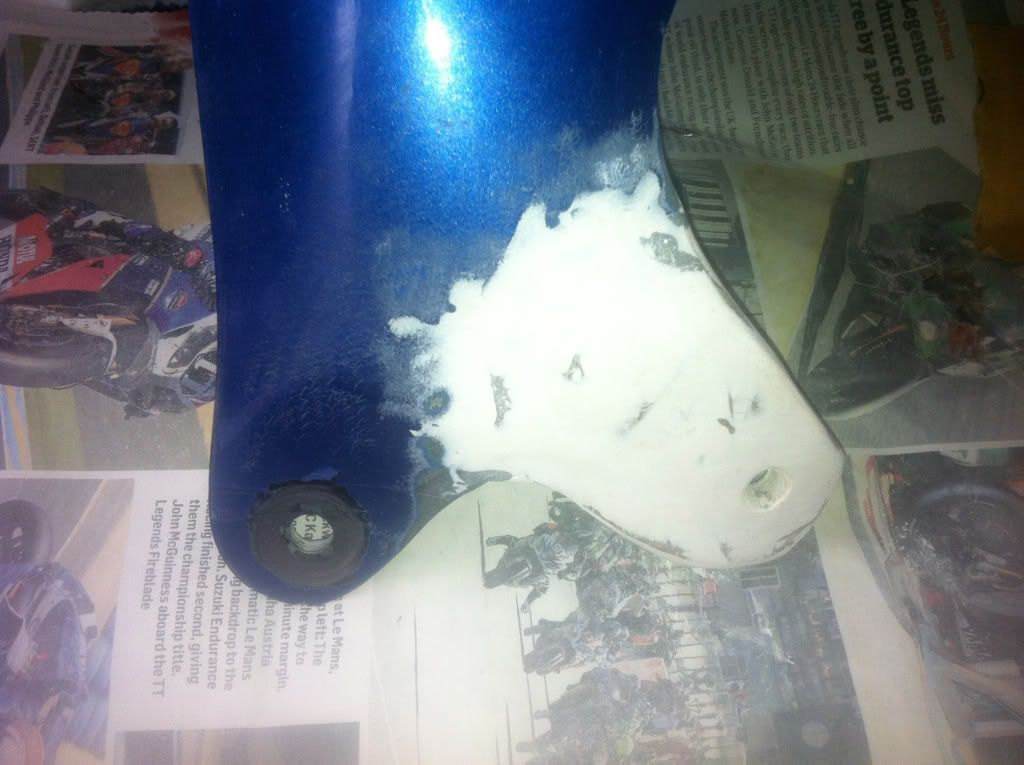
6) First trim and a layer of body filler to give a slightly better surface, Re-drill the bolt hole
7) Final trim, and a coat of satin black & lacquer to finish
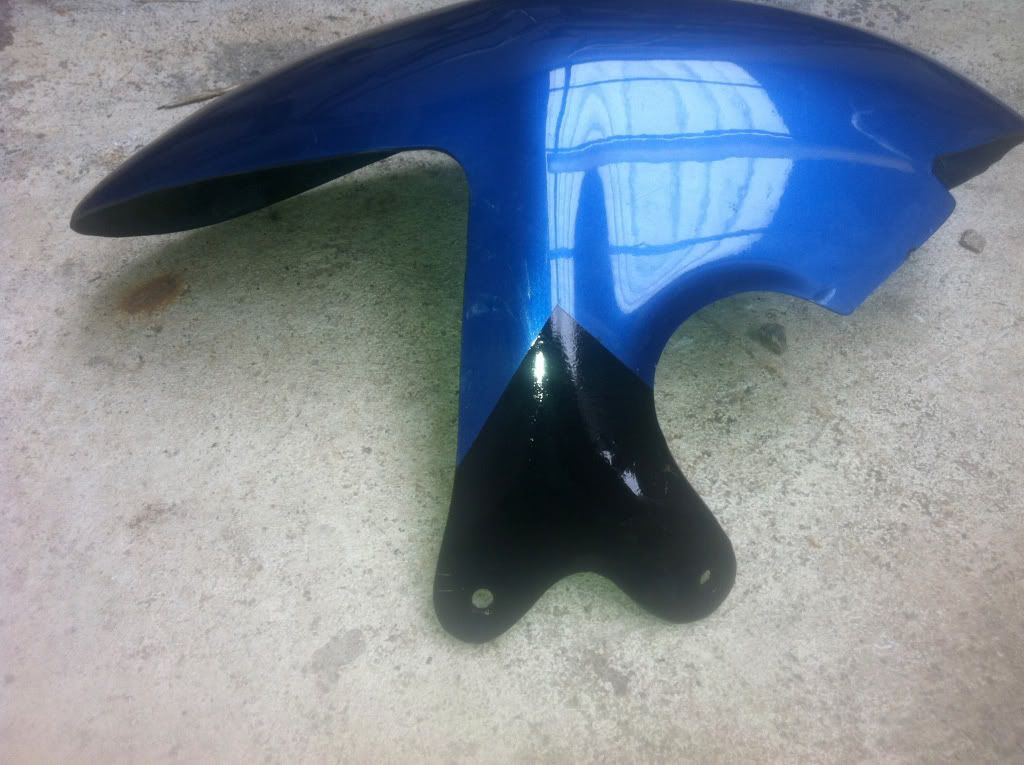
Ok, it's not terribly pretty, but it's saved me beer tokens on a new hugger. I just used what fiberglass, paint etc I had lying about
Now, time to sort the burst brake hose

7) Final trim, and a coat of satin black & lacquer to finish

Ok, it's not terribly pretty, but it's saved me beer tokens on a new hugger. I just used what fiberglass, paint etc I had lying about
Now, time to sort the burst brake hose
Blame the Deed, Not the Breed
Traitor Z1000SX Owner
Traitor Z1000SX Owner
Rather than using fiberglass I would recommend epoxy resin . Any yacht chandlery will sell small kits of West Epoxy or SP Systems which have fillers( thickeners to make a smoothing and or filling paste) epoxy is several times stronger than fiberglass and will make a far more reliable repair. You should get biaxial cloth which you can build up in different directions for strength, or woven rovings which is stronger again. Thekits come with pump dispensers as accurate proportions of resin and hardner are required.Also it needs warm conditions to cure.
2009 Triumph Speed Triple
2006 Aprilia Tuono RSVR
2006 Aprilia Tuono RSVR
